 +353 (0) 1 424 7000
 info@galco.ie


Cleaning drainage systems regularly helps maintain an unrestricted flow area and reduces the risk of blockages caused by leaves, sediment, litter and other debris. As a general rule, channel drainage should be inspected and maintained at least once a year, preferably after winter.
More frequent checks may be required in heavily trafficked areas or locations exposed to leaves, de-icing salts, sand and other solid materials.
Why is drainage system cleaning important?
A channel drainage system can only carry its designed water flow when the channel, gratings, outlets and connected pipework remain clear.
Regular cleaning helps:
- maintain hydraulic capacity;
- prevent local blockages;
- reduce standing water;
- identify damaged or loose components;
- keep outlets and silt boxes operational;
- extend the useful life of the complete system.
Cleaning should cover the entire channel run rather than only the visible surface grating.
How often should channel drainage be cleaned?
Drainage systems should normally be inspected at least once during each calendar year.
The ideal frequency depends on the location and operating conditions.
More frequent maintenance may be necessary where:
- leaves and vegetation regularly enter the channel;
- de-icing salts and road grit are used;
- surrounding surfaces are not swept frequently;
- the system receives sand, soil or industrial sediment;
- traffic levels are high;
- rainfall is too limited to flush the channel naturally;
- channels are installed near construction or landscaping work.
An additional inspection after winter or a major storm can help identify sediment, damage or blocked outlets before these affect system performance.
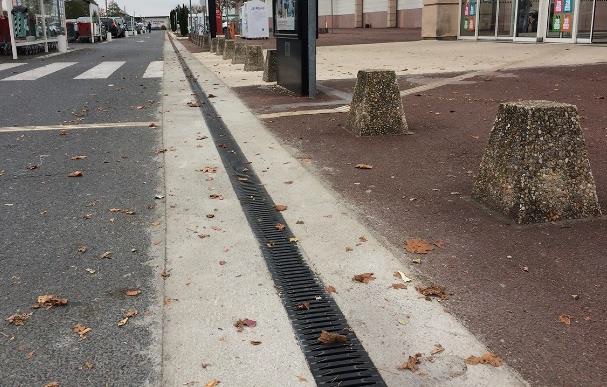
Drainage cleaning checklist
| Component | What to check |
|---|---|
| Gratings and slots | Debris, blocked openings, damage and loose fixings |
| Channel body | Sediment, litter and restricted water flow |
| Silt or trash boxes | Accumulated solids and full mud buckets |
| Outlets | Unobstructed flow into the connected pipework |
| Locking system | Secure screws, handles, clamps and locking points |
| Surrounding surface | Damage, settlement or changes around the channel |
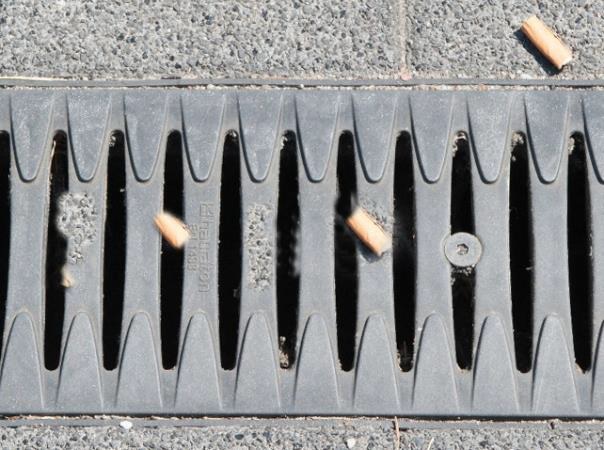
How to clean a channel drainage system
1. Remove surface debris
Start by removing leaves, paper, stones and other loose material from the gratings and surrounding surface.
A broom or hand brush is usually sufficient for light debris. Make sure that all inlet openings remain clear.
Avoid forcing stones or solid objects through the grating, as they may become trapped inside the channel.
2. Inspect the gratings and fixings
Check the gratings for:
- cracks or mechanical damage;
- blocked openings;
- movement under load;
- missing or loose screws;
- damaged clamps or locking handles.
Different systems use different fixing methods. Before removing a grating, identify whether it is bolted, clamped or secured using a boltless locking system.
The main types of channel drainage systems may require different access and maintenance methods, particularly where slot or monolithic channels are used.
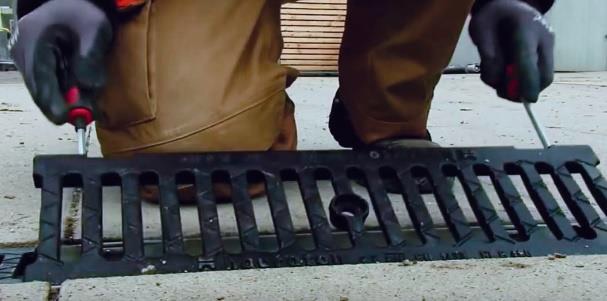
3. Remove the gratings where possible
Remove accessible gratings in accordance with the product instructions.
This provides a clearer view of the channel body and makes it easier to remove sediment. Narrow gratings may need to be lifted before the channel can be inspected properly.
Do not use excessive force. If a fixing cannot be released, check the installation or maintenance instructions before proceeding.
4. Clean the channel body
Light deposits can often be removed with a brush, shovel or suitable hand tool.
Where permitted by the manufacturer, more stubborn dirt may be loosened using a pressure washer. Direct the cleaning water and sediment towards an accessible silt box or outlet.
Do not simply move debris into a blocked pipe connection. Confirm that the next part of the drainage system can receive the cleaning water.
The materials used in the channel body and grating may influence the appropriate cleaning method. Review the guide to channel drainage materials before using strong cleaning agents or unfamiliar equipment.

5. Empty silt and trash boxes
Remove mud buckets or sediment containers and empty them completely.
Clean the box and check that:
- the outlet is unobstructed;
- water can enter the connected pipe;
- no large deposits remain;
- removable components can be reinstalled correctly.
Cleaning should generally progress from the drainage channel towards the silt or trash box.
6. Check outlets and pipework
Flush the outlet carefully and observe whether water drains away normally.
Slow discharge may indicate:
- sediment inside the outlet;
- a blocked pipe;
- insufficient downstream capacity;
- damage or displacement within the connection.
Cleaning the visible channel will not restore performance if the downstream network remains blocked.
7. Clean the support surfaces and refit the gratings
Before reinstalling the gratings, clean:
- grating support surfaces;
- edge rails;
- locking recesses;
- screws and handles;
- boltless locking points.
Refit each component in its original position and check that it sits securely.
Tightening torque varies between products. Always follow the technical instructions for the specific channel and grating rather than applying one general value.
How should slot and monolithic channels be inspected?
Slot and monolithic drainage systems do not provide continuous removable access along the full channel run.
Inspection may therefore require:
- access boxes;
- removable inspection sections;
- outlet chambers;
- flushing points;
- a small inspection camera.
These access points should be included during the design stage. Our guide to how channel drainage works explains how the channel, surface inlet and outlet operate as one system.
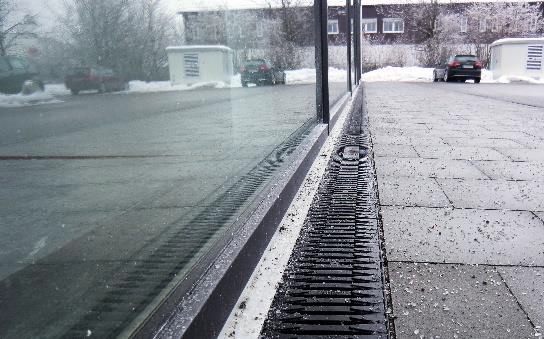
Can you use a pressure washer on drainage channels?
A pressure washer may be suitable for some drainage systems, but the permitted pressure depends on the product, material, joints and locking system.
Before cleaning:
- review the manufacturer’s instructions;
- remove loose objects that could be projected by the water;
- protect adjacent surfaces;
- direct the flow towards an accessible collection point;
- make sure sediment is removed rather than pushed into the pipe network.
Do not use aggressive chemicals unless their compatibility with the channel, grating, seals and connected treatment system has been confirmed.
Summary
Cleaning drainage systems regularly helps preserve hydraulic capacity and identify damage before it affects performance.
A complete inspection should include the gratings, channel body, locking system, silt boxes, outlets and surrounding surfaces. The maintenance method and frequency should reflect the type of system, site conditions and manufacturer’s instructions.
Need support with the inspection, specification or maintenance of a surface drainage system?
Explore Galco’s surface water drainage systems or contact the technical drainage team.
Frequently asked questions
How often should channel drainage be cleaned?
Channel drainage should generally be inspected and maintained at least once a year. More frequent cleaning may be needed in areas exposed to leaves, sediment, de-icing salts or heavy traffic.
What is the best time to clean a drainage system?
After winter is often a practical time because grit, salt and sediment may have accumulated. Additional checks can also be completed after heavy storms or nearby construction work.
How do I know if a channel drain is blocked?
Common signs include standing water, slow drainage, water flowing over the channel, visible sediment and debris covering the grating or slot.
Can I clean a channel drain without removing the grating?
Surface debris can often be removed without lifting the grating. However, removing accessible gratings provides a better view of the channel body, silt boxes and outlets.
Should rusty ductile iron gratings be replaced?
Minor surface oxidation does not automatically mean that a grating has lost its structural function. The component should be inspected for significant material loss, cracks, deformation or damage to the fixing system.
What should I do if the channel is clean but water still drains slowly?
Check the outlet, silt box and connected pipework. The restriction may be located downstream rather than inside the visible channel.
Reviewed by Galco Drainage Technical Team
Last updated: August 2026


